Table of Contents
- Yes, You Can Use 3D Printed Bow Parts, But Not Everywhere
- 3D Printed Compound Bow Parts Safety: What the Limbs and Risers Can't Do
- The Best Filament for Archery Accessories: Materials That Survive the Field
- Custom Archery Accessories for Saddle Hunting: Where 3D Printing Excels
- How 3D Printed Bow Parts Compare to Machined and Molded Gear
- Common Mistakes That Cause 3D Printed Bow Parts to Fail
- Frequently Asked Questions
Last Updated: September 13, 2026
Yes, You Can Use 3D Printed Bow Parts, But Not Everywhere
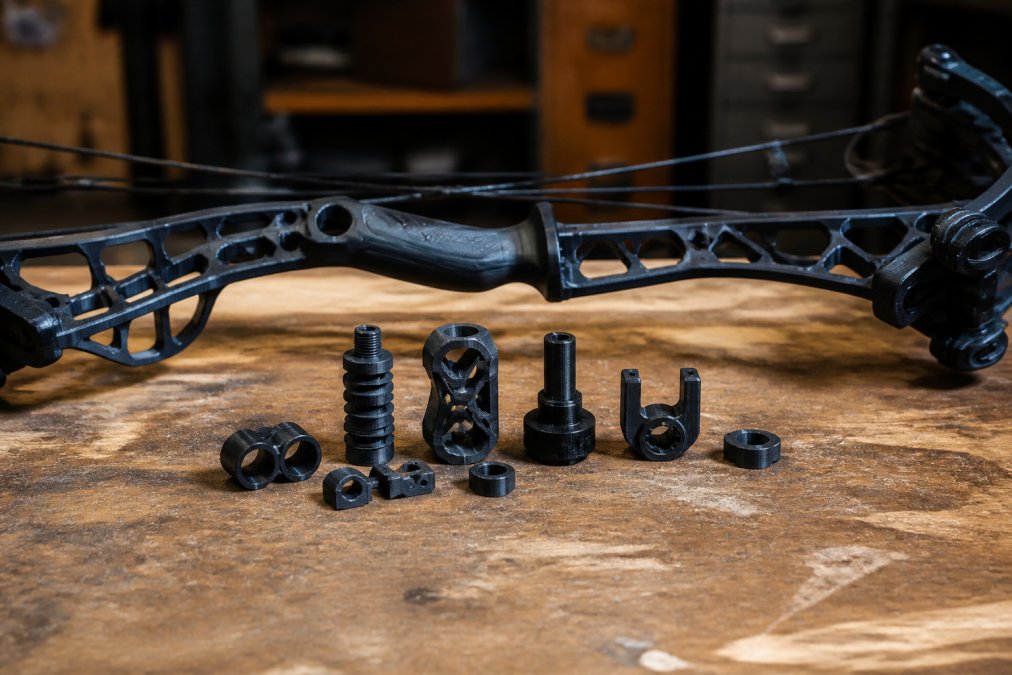
The short answer to "can you use 3d printed bow parts" is yes, with hard limits. Additive manufacturing has moved from workshop novelty to a legitimate source of accessories for modern hunting setups, and at 3D Hunting Solutions we design and print every accessory in-house before it ever sees a treestand. What you cannot do is print a limb and expect it to survive a 70-pound draw cycle.
That distinction matters because the archery market rarely separates "printed" from "structural." A printed quiver bracket and a printed limb are not the same risk category, and treating them as one is how hunters end up with broken gear at the worst possible moment.
Below, we break down where printed components genuinely outperform machined ones, which materials survive a season in the field, and the failure patterns that show up again and again.
3D Printed Compound Bow Parts Safety: What the Limbs and Risers Can't Do
3D printed compound bow parts safety comes down to one rule: never print a component that stores or releases energy. Limbs, risers, cams, and the strings that connect them are engineered to survive repeated high-load cycles, and no desktop filament print replicates that.
Here is the practical boundary most hunters get wrong:
- Off-limits: limbs, risers, cams, axles, string components, and anything in the bow's power stroke
- Acceptable with care: quiver mounts, bow hangers, arrow pullers, tool holders, saddle hooks
- Ideal: non-load-bearing organizers and accessories that see hand pressure, not draw weight
A common mistake is assuming that because a printed part "feels solid," it can handle tension. A part that feels rigid under your thumb and a part that survives thousands of draw cycles are entirely different engineering problems.
If you are unsure whether a part is structural, check the bow's manual. If the manufacturer lists it as load-bearing, it stays metal or factory composite.
The Best Filament for Archery Accessories: Materials That Survive the Field
The best filament for archery accessories depends on three field conditions: UV exposure, temperature swings, and impact. A material that prints beautifully indoors can turn brittle after a summer in direct sun.
Most hunters default to PLA because it prints easily. That is the wrong instinct for anything that lives in a truck bed or a treestand.
Filament Types Ranked for Outdoor Archery Use
| Filament | UV Resistance | Impact Strength | Best For |
|---|---|---|---|
| PETG | Good | Good | General outdoor brackets |
| ASA | Excellent | Good | Long-term sun exposure |
| Nylon (PA) | Moderate | Excellent | High-impact mounts |
| PLA | Poor | Poor | Indoor prototypes only |
| TPU | Moderate | Excellent | Flexible grips, pads |
PETG is the sensible default for most printed hunting gear. It handles moisture, resists UV better than PLA, and prints without a heated enclosure. ASA is worth the extra setup if your gear sits in the sun for months. Nylon delivers the best impact resistance, but it absorbs moisture and needs drying before every print.
Custom Archery Accessories for Saddle Hunting: Where 3D Printing Excels
Custom archery accessories for saddle hunting are where printing earns its place. Saddle hunters carry everything on their back, so every gram counts, and printed parts let you shave weight without giving up function.
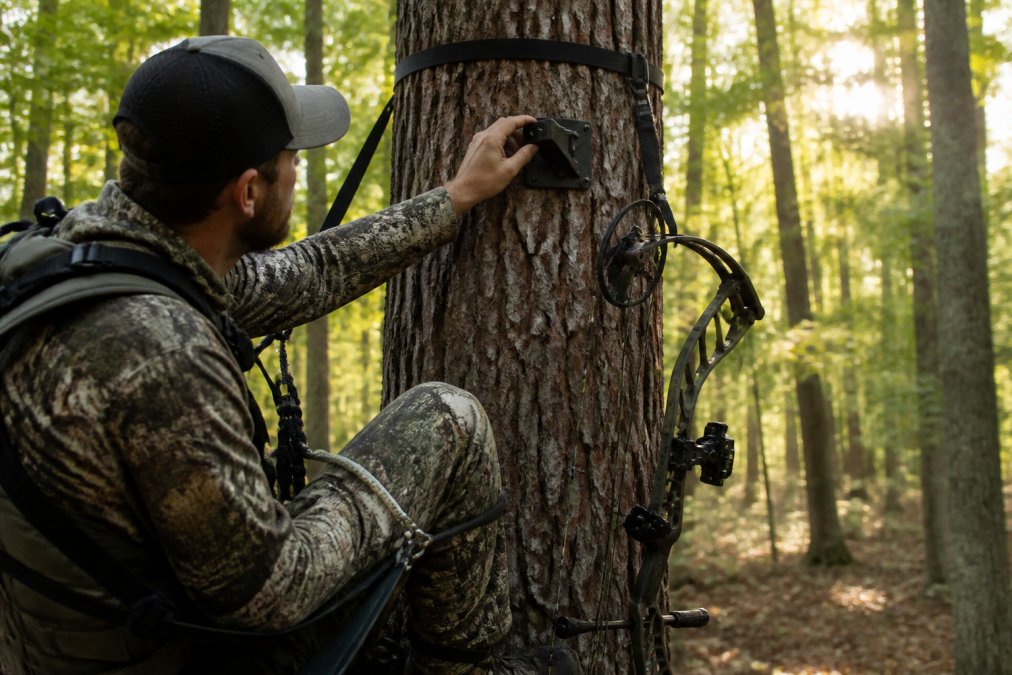
The advantage is geometry. Machined and molded parts are constrained by tooling, so they come in fixed shapes. Printing lets a designer build a hanger that matches a specific tree diameter, a quiver mount that clears a particular sight, or a hook that fits the odd-shaped trunks many hunters actually deal with.
At 3D Hunting Solutions, every accessory is designed and printed in-house and tested personally in real hunting scenarios before it ships. That testing is the difference between a part that looks good on a bench and one that holds up when you are 20 feet up with cold hands.
Where printed gear fits best:
- Climbing stick organizers that keep your setup quiet
- Bow hangers sized to your actual tree diameters
- Quiver and gear mounts that integrate with what you already run
How 3D Printed Bow Parts Compare to Machined and Molded Gear
Printed parts win on customization and weight. Machined and molded parts win on raw strength and consistency at volume. Neither is universally better, and the honest comparison depends on what the part has to do.
Machined aluminum delivers predictable strength and handles structural loads that printing cannot match. Injection molding produces identical parts at a low per-unit cost once tooling exists, which is why mass-market accessories are molded. Printing cannot compete on either front for high-volume structural components.
Where printing pulls ahead is the long tail of customization. A molded part only makes sense if thousands of hunters need the exact same shape. If your setup is specific, your tree diameters vary, and you want a part built around your gear, printing is the only economical route.
The trade-off is honest: printed parts cost more per unit than molded ones because there is no tooling amortization, and they demand correct material selection. What you pay for is a part designed for your setup rather than the average hunter's.
Common Mistakes That Cause 3D Printed Bow Parts to Fail
Most printed gear failures trace back to a handful of repeatable errors, not to printing itself. Fix the process and the parts last.
- Printing structural parts. Any component in the bow's load path should never be printed, regardless of material.
- Using PLA outdoors. PLA softens in a hot vehicle and embrittles under UV, so it fails when you need it.
- Ignoring print orientation. Layers are weakest along the Z-axis, so a part printed flat can delaminate under a load it would otherwise handle (nist.gov).
- Skipping wall thickness. Thin walls and low infill create parts that crack at the mounting points.
- No field testing. A part that survives a bench test has not been tested. Cold, wet, and loaded conditions reveal the real limits.
For hunters who want gear that has already cleared these hurdles, the ASTM committee standards for additive manufacturing provide useful baseline guidance on material testing and part qualification.
The challenge with printed bow gear is not whether it works. It is knowing which parts to print and which to leave alone. Get that boundary right, choose materials built for the field, and printed accessories become some of the most useful gear in your pack.
At 3D Hunting Solutions, we build purpose-built accessories for mobile, saddle, and backcountry hunters, designed and 3D printed in-house and tested in real conditions before they ship. Our custom design service means your gear fits your setup, not the average hunter's.
Get started with 3D Hunting Solutions and build a lighter, better-organized setup for your next season.
Frequently Asked Questions
Is it safe to use 3D printed parts on a compound bow?
It depends on the part. Non-load-bearing accessories like quiver mounts, bow hangers, arrow pullers, and sight covers are safe when printed correctly. Anything that holds stored energy, such as limbs, cams, or risers, should stay factory-made. A failed limb at full draw can cause serious injury. Keep 3D printed bow parts in accessory roles and inspect them for cracks before every hunt.
What is the best filament for archery accessories?
PETG and ASA are the most common choices for outdoor archery gear. PETG handles moisture and impact well at a low cost. ASA resists UV fading and holds up in summer heat better than PLA, which softens above roughly 140°F. Nylon with carbon fiber offers the highest strength but costs more and absorbs moisture, so it needs drying before printing. Match the filament to the part's exposure, not just its strength.
Can you 3D print structural components for a bow?
You can print structural parts like riser weights, stabilizer bushings, and grip inserts, but not primary load-bearing components. The bow's limbs, cams, and riser carry hundreds of pounds of stored energy, and printed layer adhesion cannot match forged or machined aluminum. Custom archery accessories for saddle hunting, such as stick brackets and gear hooks, are a better fit because they carry static loads rather than stored energy.
Are 3D printed bow hangers durable enough for backcountry hunting?
Yes, when they are printed from PETG or ASA with thick walls and printed solid rather than hollow. A bow hanger carries a few pounds of static weight, which is well within what these materials handle. The failure points are usually thin walls, poor layer adhesion, or UV degradation from leaving the part in direct sun for months. Inspect the hook and mounting point before each trip and replace anything showing stress marks.