Table of Contents
- Assess Your Current Setup and Compatibility Needs
- Mobile Hunting Gear Organization: Building Your Loadout
- Compound Bow Accessory Setup and Mounting Strategy
- Hunting Gear Weight Reduction Tips for Ultralight Loadouts
- Weight-to-Utility Ratio: Choosing Accessories That Earn Their Place
- Field Testing and Ergonomic Calibration
- Maintenance and Field Repair for Integrated Accessories
- Frequently Asked Questions
Last Updated: September 27, 2026
Assess Your Current Setup and Compatibility Needs
Before adding accessories, audit what you have. List your core gear: saddle type, bow model, climbing sticks, pack system, and existing attachments. Check your bow's mounting points, most have limited space. Compatibility is essential to integrate hunting accessories effectively. If your saddle uses 1" molle loops but your gear hook needs 3/4" points, you'll troubleshoot instead of hunt. Review specifications before purchase.

Mobile Hunting Gear Organization: Building Your Loadout
Mobile hunters carry everything on their bodies. Your loadout must be organized, accessible, balanced, and conflict-free. Start with a hunting pack featuring multiple attachment points and a weight distribution system that centers load on hips and shoulders.
The Compatibility Matrix: Cross-Platform Integration
Map your attachment ecosystem before assigning gear. Most saddle hunters use molle loops (1" or 3/4"), carabiner points, and direct-mount brackets. Create a simple compatibility matrix for your setup:
Attachment System Inventory:
- Saddle molle loops: How many? What width (1" or 3/4")? Which side?
- Pack molle loops: Same questions, count and width
- Carabiner attachment points: Bow, pack, saddle, how many total?
- Direct-mount brackets: Bow riser, limb brackets, string attachments
Layered Access Architecture
Organize gear in layers based on frequency of use and access speed, not just location.
Weight Distribution Zones:
- Upper front (chest/shoulder straps): Lightweight immediate-access items only (release aid, calls, small rangefinder).
- Lower front (pack waist belt): Secondary items (backup broadheads, compass, first-aid kit).
- Side pockets: Medium-weight items (field notes, extra calls, backup release). Distribute equally left and right.
- Back compartment: Heaviest items (clothing, food, water, repair kit). Keep weight centered.
- Bow attachment: Quiver opposite your dominant hand; lightweight gear hooks on riser only.
Testing Your Organization Before Season
Test your arrangement before opening day. Walk your property with full loadout for two hours. Climb your stand, sit 30 minutes, draw your bow, and reach for each item in hunting order. Check for release aid accessibility, quiver clearance, side pouch comfort, and compass/broadhead access. Small adjustments on the ground prevent panic in the field.
Compound Bow Accessory Setup and Mounting Strategy
Your bow is your system's center. Compound bows have three mounting zones: riser, limbs, string. Most hunters overload the riser with sights, stabilizers, and brackets, throwing off balance and increasing fatigue.
Attachment Points and Molle Integration
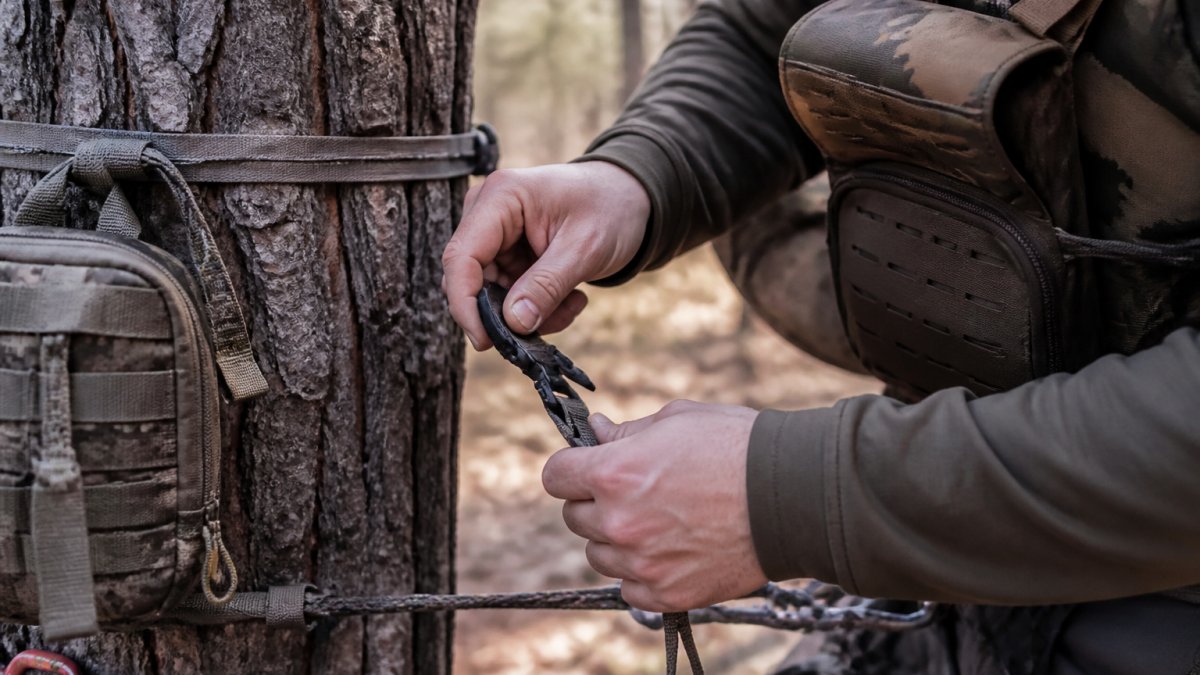
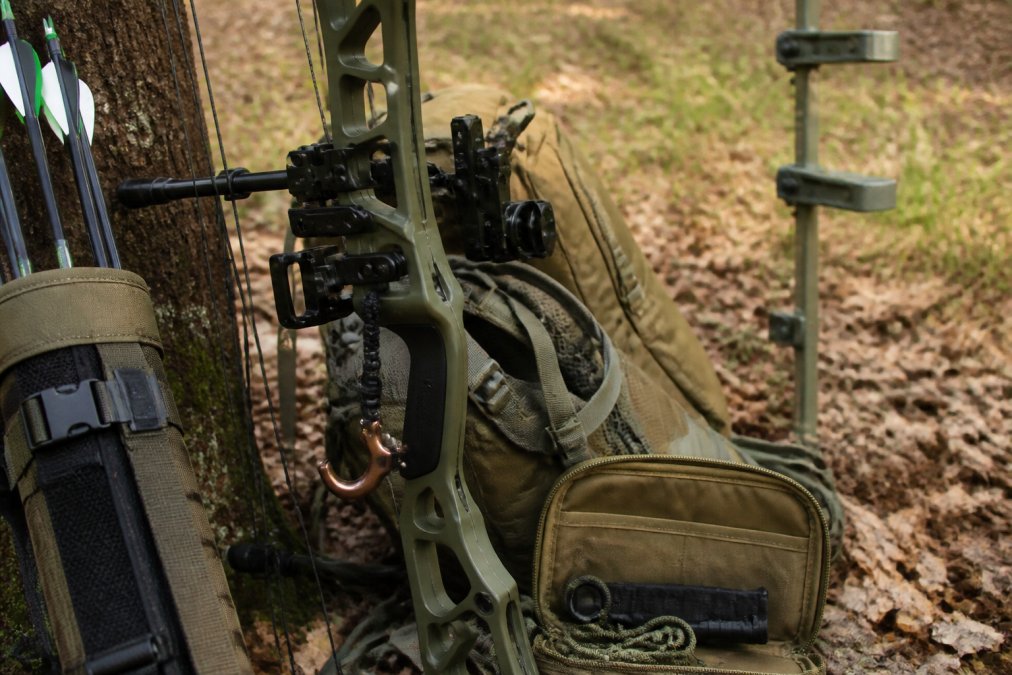
Molle systems originated in tactical gear and hunters adopted them for versatility. If your saddle lacks molle loops, upgrade to one with them. 3D Hunting Solutions' Molle Hook/Hanger ($5.00) fits 1" or 3/4" points and mounts climbing sticks, bows, or packs.
When mounting molle accessories:
- Use the highest-quality loops available
- Don't overload a single loop
- Distribute weight across multiple attachment points
- Test every connection before heading into the field Properly securing these individual components provides the necessary foundation for building modular kits that remain stable and accessible during extended treks.
Release Aid and Quiver Positioning
Your release aid and quiver are high-use items. Mount your quiver on the bow's side opposite your dominant hand to keep weight balanced. If you're right-handed, quiver goes on the left. Keep it tight against the bow to prevent rattling and shifting during climbing.
Hunting Gear Weight Reduction Tips for Ultralight Loadouts
Weight kills mobility. Identify your heaviest items and remove redundant gear: multiple headlamps, fire-starters, unused clothing that don't serve a purpose.
Weight-to-Utility Ratio: Choosing Accessories That Earn Their Place
Each item must earn its place by delivering measurable value exceeding its weight cost. Quantify utility to guide purchasing and packing decisions.
Defining and Measuring Utility
Frequency of Use: Release aids deploy dozens of times per hunt (high frequency). Backup fire-starters deploy once per season or never (low frequency).
The Weight-to-Utility Scoring System
Create a simple scoring matrix for your accessories:
Step 1: List every item you plan to carry and its weight in ounces.
Example loadout:
- Release aid: 4 oz
- Rangefinder: 8 oz
- Backup broadheads (3): 3 oz
- Compass: 1 oz
- Backup compass: 1 oz
- First-aid kit: 6 oz
- Repair kit (paracord, epoxy, fasteners): 4 oz
- Calls (primary + backup): 3 oz
- Headlamp: 3 oz
- Backup headlamp: 2 oz
- Food and water: 12 oz
- Clothing layers: 8 oz
Total: 55 oz (3.4 pounds)
-
Release aid: Frequency 5 (used constantly), Consequence 5 (hunt fails without it) = Score 25
-
Rangefinder: Frequency 4 (used multiple times per hunt), Consequence 4 (poor shots without it) = Score 16
-
Backup broadheads: Frequency 2 (used only if primary fails), Consequence 4 (hunt ends without backup) = Score 8
-
Compass: Frequency 1 (used only for navigation), Consequence 4 (could get lost) = Score 4
-
Backup compass: Frequency 0.5 (rarely used; phone has compass), Consequence 3 (backup to backup) = Score 1.5
-
First-aid kit: Frequency 1 (used only if injured), Consequence 5 (critical if injured) = Score 5
-
Repair kit: Frequency 1 (used if gear fails), Consequence 4 (hunt compromised without repairs) = Score 4
-
Calls: Frequency 3 (used during active hunting), Consequence 3 (limits tactics without backup) = Score 9
-
Headlamp: Frequency 2 (used during setup and exit), Consequence 4 (dangerous without light) = Score 8
-
Backup headlamp: Frequency 0.5 (rarely used; primary usually works), Consequence 3 (backup to backup) = Score 1.5
-
Food and water: Frequency 3 (consumed during hunt), Consequence 3 (fatigue without fuel) = Score 9
-
Clothing layers: Frequency 2 (adjusted during hunt), Consequence 4 (dangerous if cold) = Score 8
-
Release aid: 4 oz ÷ 25 = 0.16 (excellent)
-
Rangefinder: 8 oz ÷ 16 = 0.50 (excellent)
-
Backup broadheads: 3 oz ÷ 8 = 0.38 (excellent)
-
Compass: 1 oz ÷ 4 = 0.25 (excellent)
-
Backup compass: 1 oz ÷ 1.5 = 0.67 (poor candidate for removal)
-
First-aid kit: 6 oz ÷ 5 = 1.2 (acceptable)
-
Repair kit: 4 oz ÷ 4 = 1.0 (acceptable)
-
Calls: 3 oz ÷ 9 = 0.33 (excellent)
-
Headlamp: 3 oz ÷ 8 = 0.38 (excellent)
-
Backup headlamp: 2 oz ÷ 1.5 = 1.33 (poor candidate for removal)
-
Food and water: 12 oz ÷ 9 = 1.33 (acceptable)
-
Clothing layers: 8 oz ÷ 8 = 1.0 (acceptable)
Real-World Trade-Offs: When to Keep Low-Ratio Items
Not every low-ratio item should be removed. Context matters: dangerous terrain justifies backup compass; unreliable primary gear justifies backups; longer remote hunts require more redundancy. Make conscious choices based on your environment and risk tolerance.
Applying This Framework to Accessory Purchases
When you're considering a new accessory, score it before you buy:
- What problem does it solve?
- How often will I actually use it?
- What happens if I don't have it?
- Does something I already carry do this job?
- What's the weight penalty?
- What's my utility score for this item?
Field Testing and Ergonomic Calibration
Real-world testing before opening day reveals problems that never show up at home. Spend time in your tree stand with full setup. Climb, sit for hours, draw your bow, reach for accessories, and move around. Position gear for efficient body mechanics: release aid at chest height, rangefinder accessible without pack removal, bow balanced naturally. Make small adjustments based on what you learn.
Maintenance and Field Repair for Integrated Accessories
Gear fails in the field. Check attachment points weekly for cracks, bent components, or loose fasteners. Carry basic repair supplies: spare molle loops, epoxy, paracord, and small tools. If a molle hook cracks in the field, repair it temporarily with epoxy and paracord. Having spares means you can swap components quickly and keep hunting.
Frequently Asked Questions
How do I ensure my hunting accessories are compatible with my current setup?
Start by identifying your attachment points: molle loops, picatinny rails, or direct mounting surfaces on your bow, pack, or saddle. Measure the width and spacing of these points, then verify each accessory fits those dimensions before purchase. Most modern accessories use standard molle (1-inch loops) or modular mounting systems. If you're mixing older and newer gear, check the manufacturer specs for adapter compatibility. Testing one accessory at a time helps isolate fit issues before committing to a full loadout.
What's the best way to attach accessories to a compound bow?
Mount heavy items like quivers low and rearward to maintain bow balance and reduce torque. Use low-profile mounts that don't interfere with your draw cycle or sight picture. For molle-based integration, the Molle Hook/Hanger ($5) works with standard 1-inch or 3/4-inch loops and distributes weight across multiple attachment points. Position your release aid on the bowstring or wrist strap where it doesn't shift during the shot. Test draw weight and arrow clearance before heading to the field, even small shifts in accessory position can affect accuracy.
How can I reduce weight in my backcountry hunting pack without losing essential gear?
Prioritize items by function: first aid, navigation, emergency shelter, and water rank above comfort items. Consider the utility of each item. Choose ultralight materials like titanium or PETG 3D-printed accessories over heavier metal alternatives. Distribute weight across your pack and body using a modular sling system rather than dumping everything in one bag. Aim for a 20-25 pound loaded pack for multi-day trips. Every accessory should answer this question: does it prevent injury, death, or mission failure? If not, consider leaving it behind.
Will 3D-printed hunting accessories actually hold up in the field?
Quality 3D-printed accessories made from PETG filament are durable for hunting use when designed for the specific load they carry. PETG is impact-resistant and flexible, making it ideal for gear hooks and mounting solutions that absorb shock. Accessories like the Molle Hook/Hanger are field-tested and rated for the weight they support. However, avoid printing critical safety items like carabiners or weight-bearing climbing hardware, those should remain metal or certified equipment. Always inspect printed gear before season for cracks, and store it out of direct sunlight to prevent UV degradation.